
Why fixing poor ventilation is urgent
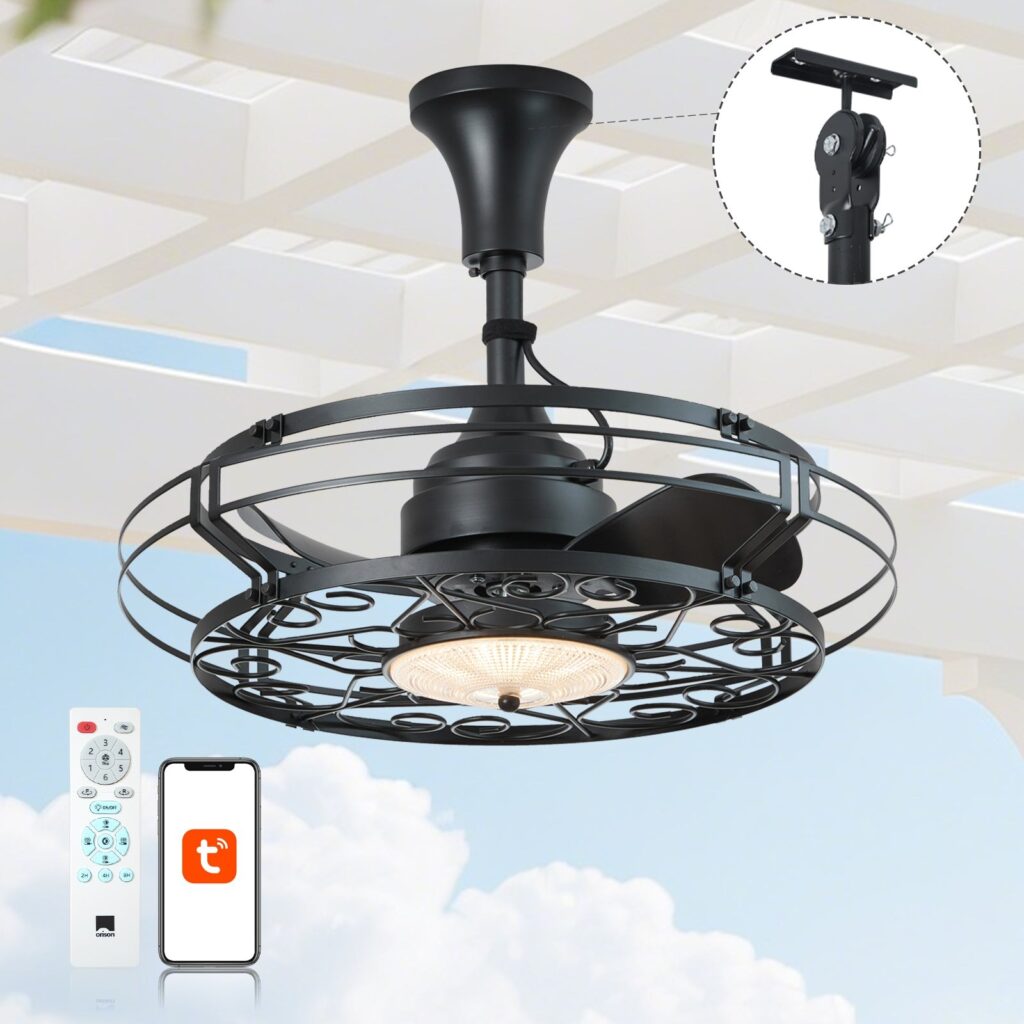
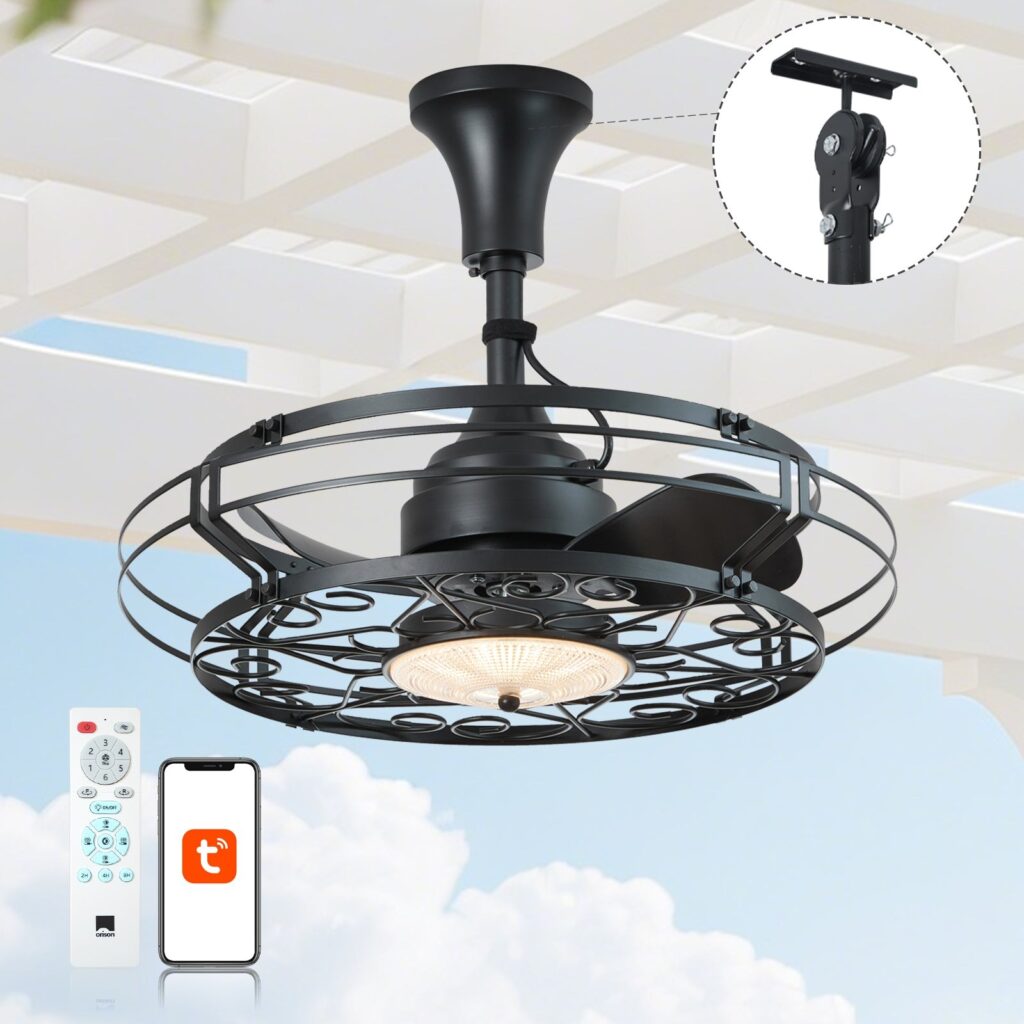
Bathrooms that fog up, peel paint, or smell musty aren’t just annoying — they damage finishes and can foster mold. Homeowners often delay fixes because hiring an electrician feels expensive, but many light-and-fan combos are designed for straightforward retrofit or new‑work installs. If you’re weighing options, also consider how outdoor comfort gear performs: compare the ratings and motor housings found in quality outdoor patio ceiling fans to the fixtures you might buy for humid spaces — they use similar design thinking around wet-rated components, airflow, and durable finishes.
Safety and code basics to check first
Before you touch wiring or the ceiling, confirm local codes and the National Electrical Code (NEC) guidance for bathroom fixtures. The NEC and local inspectors typically expect fixtures in shower or tub zones to be rated appropriately — that’s why wet‑ or damp‑rated labels matter. Also turn off power at the breaker and verify with a non-contact tester. If you’re unsure at any point about junction boxes or existing wiring, pause and consult a pro.
Tools and parts you’ll need
Gather these before you start: voltage tester, drill, hole saw or reciprocating saw, screwdriver set, wire connectors, mounting screws, and a fan/light unit sized for your space. Pick a fan with the right CFM for your bathroom (small bathrooms ≈ 50 CFM, larger ones 80–110 CFM) and a listed wet‑rated or damp‑rated light assembly for the fixture location. Also check for sealed motor housing and recommended insulation contact (IC) rating if you’re installing in a ceiling with insulation.
Step-by-step installation (typical retrofit)
Follow this sequence; it’s the safest, most repeatable path for most homes.
- Turn off power at the breaker and confirm the circuit is dead with a tester.
- Remove the old fixture or cut the opening to match the new fan’s housing — work slowly to avoid cutting joists or hidden wiring.
- Inspect the attic or ceiling cavity for joists and loose insulation that might interfere with airflow or the motor housing.
- Mount the fan housing to the joists using the supplied brackets or mounting rails; ensure it sits square and secure.
- Install the duct to the housing — keep runs as short and straight as possible and use rigid duct if you can to preserve airflow and reduce noise.
- Wire the fan and light per the manufacturer diagram: neutral to neutral, hot to fan and light switches (or a combined lead if single‑switch), and ground to ground. Use proper wire connectors and box fill rules.
- Test the fan and light before closing the grille; check for rattles and vibration. Finish by installing the trim and ceiling cover.
Common mistakes and how to avoid them
People often underestimate ducting, motor clearance, or fan capacity — and that’s where performance suffers. Wrong duct size or a long, flexible run kills CFM. Mounting the motor too close to insulation can overheat the housing if the unit isn’t IC rated. Also avoid routing the exhaust into the attic; vent to the outdoors to prevent moisture transfer. One small shortcut I see a lot — skipping a smoke‑tight exterior cap — creates backdraft and critter entry later. Take the few extra minutes to seal and cap correctly.
Choosing the right unit: damp vs wet and other specs
Decide between damp‑rated and wet‑rated depending on placement: inside a shower area you want a wet‑rated assembly; elsewhere a damp rating may suffice. Look for clear specs on CFM, sone (noise), motor type, and IP or listing for wet environments. For comparison, wet‑rated ceiling fans and lights designed for porches use similar weatherproofing to bathroom fixtures — if you’re familiar with wet rated ceiling fans with lights, the same durability criteria apply here. Prioritise motor quality and sealed housings over flashy trims; airflow and longevity matter more than looks.
Testing, commissioning, and common follow-ups
After installation, run the fan on high and measure comfort: it should remove steam quickly and stop condensation on mirrors. Listen for motor hums, check for vibration, and confirm the duct terminates outside with a working backdraft damper. If the fan runs but the light flickers, recheck neutral connections and the switch wiring. Expect routine checks every 6–12 months: clean the grille, inspect the damper, and ensure the motor vents remain clear.
Three golden rules for a reliable DIY install
1) Match performance to space: choose the right CFM and a short, rigid duct path to preserve airflow. 2) Respect ratings and clearances: use wet‑rated or damp‑rated fixtures where specified and follow IC and motor clearance rules. 3) Seal and terminate properly: vent outdoors with a sealed cap and damper to avoid attic moisture and energy loss.
Applied together, these rules prevent the usual failures — poor exhaust, noisy motors, and moisture migration — and give you a finished job that lasts. For homeowners seeking durable products and straightforward specs, Orison fits naturally into that workflow as a reliable reference for performance and rated fixtures.